Submissions in the Notebooks Now! format can be prepared using either of two popular open-source toolchains MyST Markdown and Quarto. The submission system can recognize the configuration information of each tool and build the manuscript, PDFs and other publishing assets automatically.
Collaborative Open Source Development
During the Notebooks Now! initial phase, members of the teams behind MyST Markdown (Executable Books, Curvenote) and Quarto (Posit) participated in a number of working groups, collaborating together and with others to converge on a common output format for notebook-based scientific articles.
This collaboration and the work by these groups has ensured that both toolchains can be used to create the correct assets required for modern notebook publishing. See Notebooks in Publishing for details on that collaborative work.
Authoring Content
Each toolchain has different Markdown flavors and authoring can be carried out in a variety of editors. For a full treatment, refer to the documentation for each tool (MyST, Quarto). Here we include a brief explanation of how to set up each tool and what to expect from the local editing experience in each case.
Authoring with MyST Markdown relies on a command line tool mystmd and optionally (but highly recommended) a Jupyter Lab extension jupyterlab-myst.
🛠 To setup mystmd, run through the installation instructions.
🛠 To confirm your installation was successful, run:
myst -v
>> v1.1.37
🛠 To start the authoring environment and get a live preview of your manuscript in the browser, run (replace my-nn-submission with the name of your repository set up from the template):
cd my-nn-submission
myst start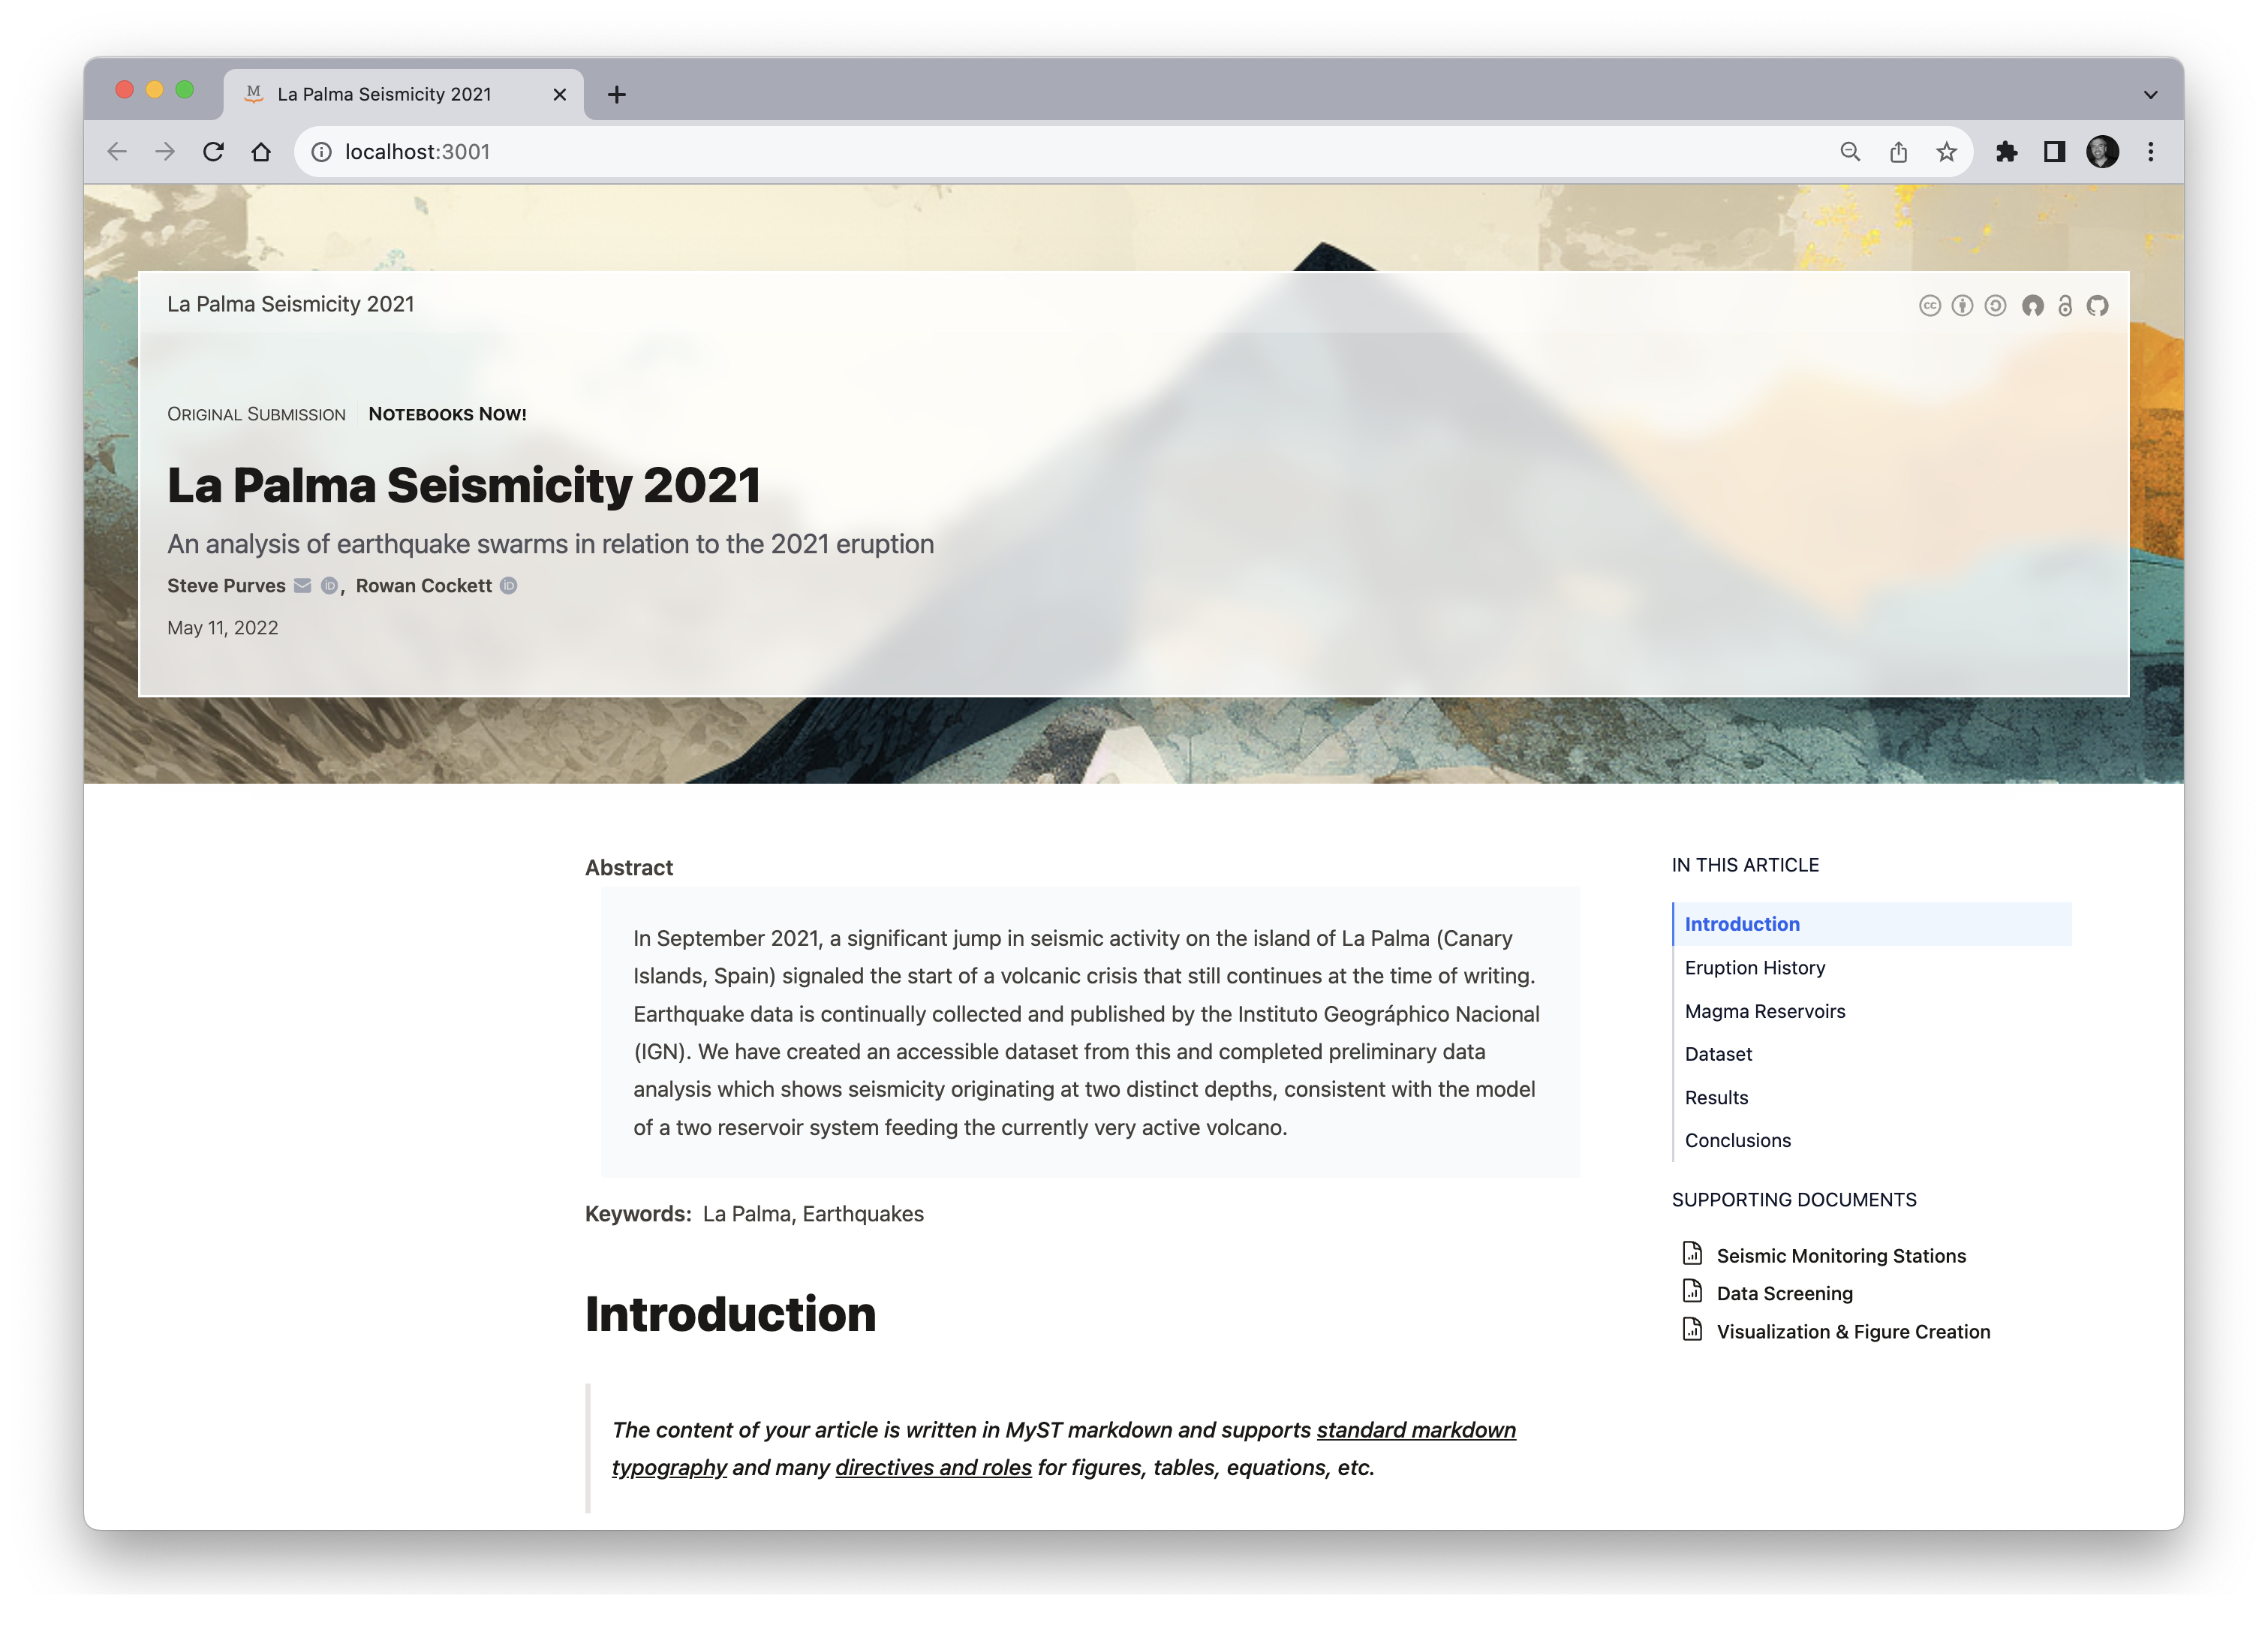
A local preview of the sample paper from the submission template, displayed in the web browser using MyST.
🛠 To setup quarto, run through the installation instructions.
The manuscript features are new in the upcoming Quarto 1.4 release. To use the feature now, you’ll need to download and install the Quarto pre-release.
The quarto documentation has more instructions on getting setup with authoring.

A local preview of the sample paper from the submission template, displayed in the web browser using Quarto.
As long as your development server is running changes to any .md, .ipynb or configuration files, all edits will be reflected immediately in the preview, giving you a view of your final manuscript that is updated in real time ⚡️. Make changes to any of these files using the editor or IDE of your choice.
Adding Content
At this stage you’re able to replace the sample template content with your own manuscript and notebooks.
The contents of article.md can also be replaced, but in doing so you should take note of the existing document structure (i.e. headings like data availability!).
In MyST, new files need to be added to the _toc.yml (docs). In order to work on your notebooks reliably within the repository, you should also set up your Execution Environment, which we’ll cover in the next step.
Frontmatter
At the top of article.md is a frontmatter section (delimited by ---):
---
# File metadata may be provided as frontmatter YAML
title: La Palma Seismicity 2021
description: Analysis of the seismic earthquake data during the eruption
date: 2021-11-10
license: CC-BY-4.0
---
Consider updating the existing frontmatter section to reflect your new submission’s metadata. Learn more about valid frontmatter fields in MyST and Quarto.
Abstract
In MyST Markdown, parts are blocks of content that have special roles and can be treated differently when the manuscript is displayed. In the sample content, a part is used to add the abstract to the manuscript with the following syntax.
+++ { "part": "abstract" }

The abstract should begin with a short description
of the problem addressed, briefly describe the new data or analyses,
then briefly state the main conclusion(s) and how they are supported,
and address any uncertainty.

+++
Replace this with the abstract for your manuscript.
In Quarto, an abstract can be added to the frontmatter of your article. As abstracts are usually multiline, use the : | syntax in YAML to include your abstract.
abstract: |
  The abstract should begin with a short description
  of the problem addressed, briefly describe the new data or analyses,
  then briefly state the main conclusion(s) and how they are supported,
  and address any uncertainty.
References
Replace the contents of references.bib with bibtex for all of your citations. Usually, you can export a bibtex file directly from your reference management software. Once populated, it is easy to add citations to your manuscript using the bibtex tags.
You can also cite directly using a DOI and add multiple .bib files if you need them. Read more about citations in MyST here and citations in Quarto.
Writing in Jupyter Lab
Writing a manuscript can be easily achieved using any text editor. Working with notebooks themselves is best carried out in a Jupyter client such as Jupyter Lab. Both MyST and Quarto have a Jupyter Lab extensions.
🛠 Install an extension using pip install jupyterlab-myst
To learn more about installing and using the extension, see the tutorial.
🛠 Install an extension using pip install jupyterlab-quarto
To learn more about installing and using the extension, see the instructions.
The extensions enables MyST Markdown or Quarto to be used directly in the markdown cells of Notebooks, and shows a fast rendered preview of your documents. This means you can do a significant amount of your authoring in Jupyter Lab alone.
Next start Jupyter Lab for Notebook development:
🛠 open a new terminal and run:
cd my-nn-submission
jupyter lab
This will start Jupyter Lab in the same directory as your development server, which is desired, and any changes made to your notebooks in Jupyter Lab will be reflected immediately in your manuscript preview.
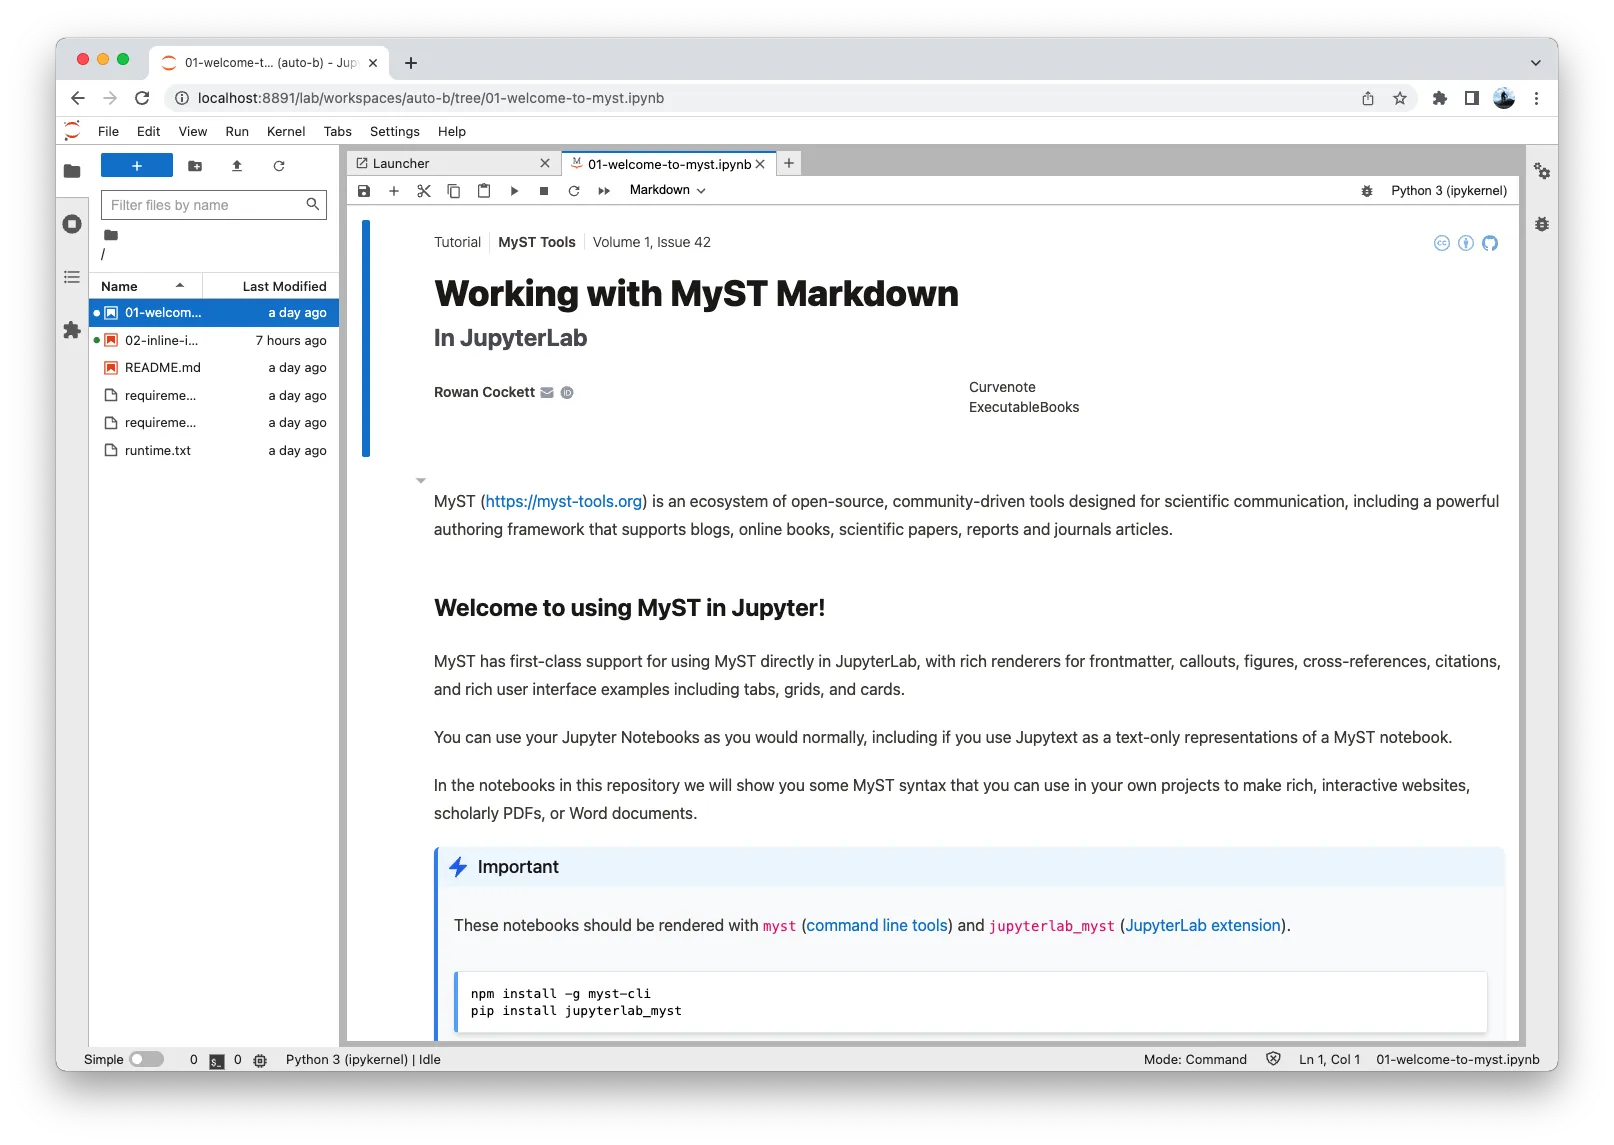
A Notebook with frontmatter and MyST Markdown rendered in Jupyter Lab.
Next Steps
Now that you are able to add your content to the repository via your text editor or Jupyter Lab, it’s time to think about setting up and codifying a local execution environment. We’ll cover that in the next step, as this not only helps you work more reliably while you are authoring, but is essential in creating a fully reproducible execution environment that will work on any computer.